Browsing:

Category: Airsoft GI DIY

Quick Tip: Installing a Battery in the Classic Army Nemesis Guns

We’ve had some recurring questions recently from people who have come in to check out the Classic Army Nemesis line of guns. Rest assured, the battery tube is deceptively spacious, if you know how to set everything up in advance. We’ll walk you through the process, as it does require a particular “ancient secret technique” to battery connection that you may not be aware of.

What is that ancient trick you may ask? Deans Connectors!

For those of you who are a little new to the sport, you may be a bit confused, and that’s ok! Deans connectors are the tiny red plugs you’ll find standard on classic army guns (though many include an adapter for your typical tamiya plug). The Nemesis guns require this connector to make full advantage of the space inside their rear storage tube. Converting a tamiya plug over to deans is easy enough, with a little bit of soldering knowledge, but a well trained technician (like the ones in our stores) should be more than capable of handling this for you as well!

Once your battery has been converted over it’s just a simple matter of how to connect everything together, as you’ll get the best results from setting this up in a specific manner. Don’t worry, we’ve got you covered with pictures!
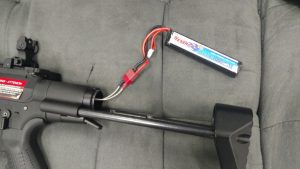
Tenergy 11.1v stick with Deans plug inserted in a Classic Army Nemesis tube
  • As you can see from the picture above, the red deans connectors are hooked up, and the gun should be able to fire from this point. Remember your Gun Safety procedures (and it doesn’t hurt to be wearing eye protection at this point forward, just to be safe).
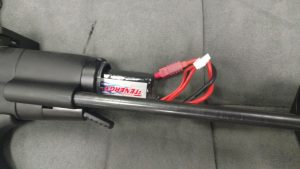
Tenergy 11.1v stick with Deans plug inserted in a Classic Army Nemesis tube
  • From here, slide the battery into the tube, make sure your plugs lay on the side of the battery, and be mindful of the length of wire connecting everything together. Be careful not to pinch or crimp any wires, and go slow trying to fit the tube onto the threads.
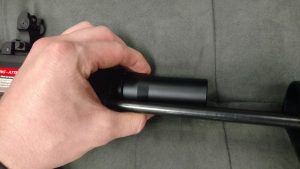
Tenergy 11.1v stick with Deans plug inserted in a Classic Army Nemesis tube
  • If all steps have been done correctly, you should have a result much like the one above with your battery safely nestled inside the storage tube, and your brand new Nemesis Airsoft Gun ready to sling plastic at your opponents, whoever they may be!

Some other things to consider:

  • Switching your other guns to deans plugs may also be a wise choice. Keeping all your guns to the same type of connector helps to keep your battery collection a bit more versatile, and additionally, Deans Plugs provide a significantly more stable connection for your electrical current than a Tamiya plug.
  • Be Mindful of your Gun Safety while installing a battery. Make sure your magazine is removed, and you are not pointing the replica at anything you don’t want to get shot. Make sure everyone in the area around you is safe from an accidental discharge as well.
  • Go Slow. Don’t force the cover on. This is usually a sign that something is not lined up right, and forcing the cover on may cause you other more serious issues. If the cover isn’t fitting, try to realign the battery and it’s wires again following our pictures above. It’s easy to get excited when you get a new blaster, but you’ll have more fun if you don’t break it before you get to shoot it!

How ASGI Marq got into Tech work

Originally written by ASGI Marq

marq_b

It’s one thing to know how to install aftermarket parts. It’s another to know how they all work together. Originally, when I began playing airsoft, like most people, would go to their nearest sporting good store to purchase their airsoft gun. Little did I know that Airsoft GI was close to home. The first airsoft gun that I purchased was a JG M4A1. I have to say I was a bit surprised that the gun had a velocity of over 380 feet per second. Sure enough Airsoft Playground in El Monte had a 350 fps limit so I had to do something to drop the feet per second. Then and there I always wondered how to customize my own airsoft gun. Not just simply decreasing the muzzle velocity but by increasing rate of fire and reliability.

Marq_SC_1

There were many tutorials online but where I learned and understood most is from the people I knew that already had the tech mindset. I was given tips and pointers of some basics when it came to disassembling the gun then I adapted and learned more on my own, mainly through trial and error. Some days it was very tedious, but as time went by I learned a few tips and tricks when it came to replacing other internal components. I once thought that I knew it all, however, ever since I started working at Airsoft GI, I have gained so much more knowledge from our world class tech department.

(more…)


Back in Black | ASGI Bill’s Rig

IMG_4171

Originally written by ASGI Bill

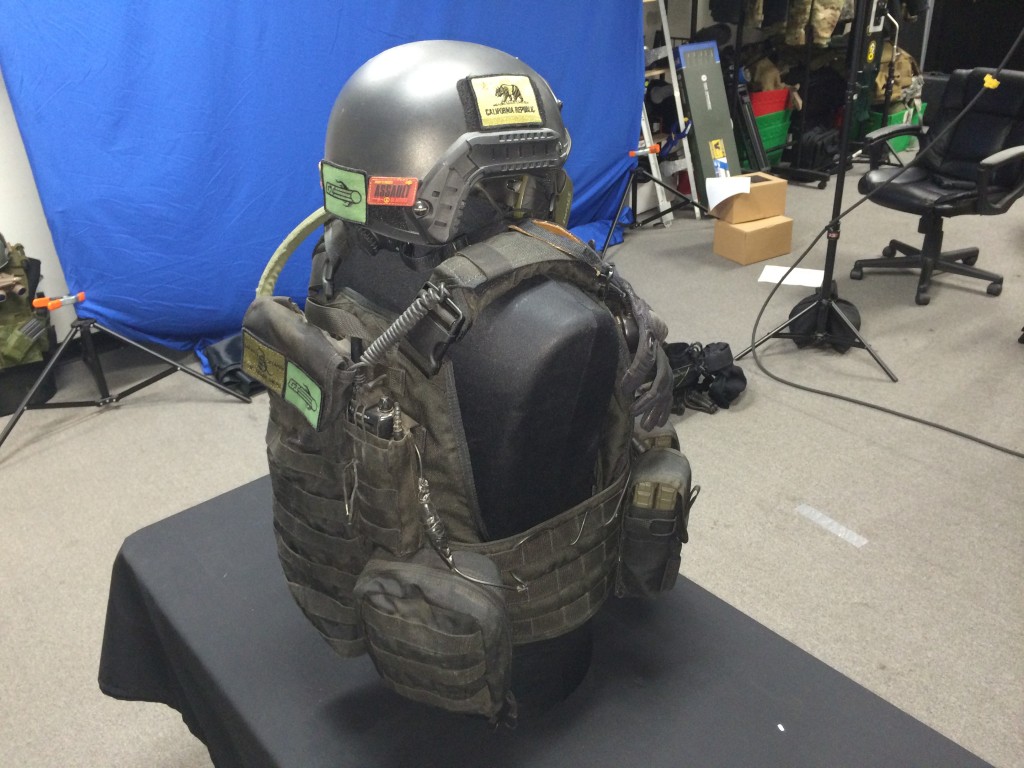
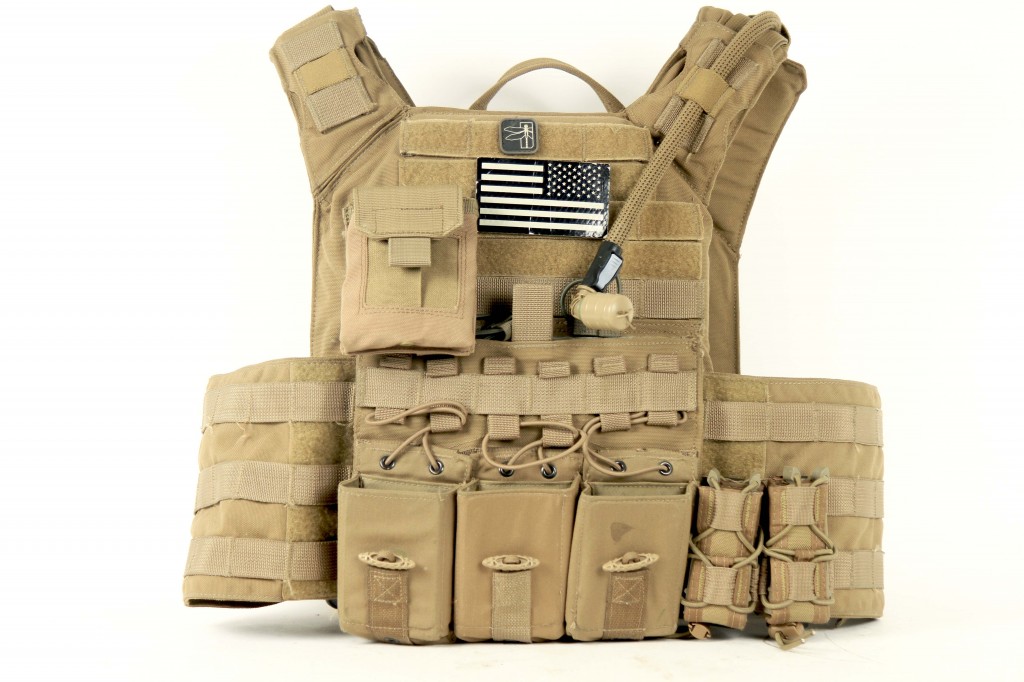
Recently I was in the market for a new plate carrier as my trusty Condor Quick Release Plate Carrier was slowly wearing out from 4 years of hard abuse. After talking to Bob about his setup (as well as trying on his plate carrier) I chose the Specter MPC plate carrier in black as I have always like black gear. I understand that is may not be as hip or cool as the newest camo (cough* multicam, cough*) or anything in tan, but I has always given me the PMC/Mercenary look I try to go for. Let me tell you, this plate carrier is well worth the price, and I plan to always buy American made plate carriers from now on, as it is built like a Mack truck and can take a beating.

IMG_4176

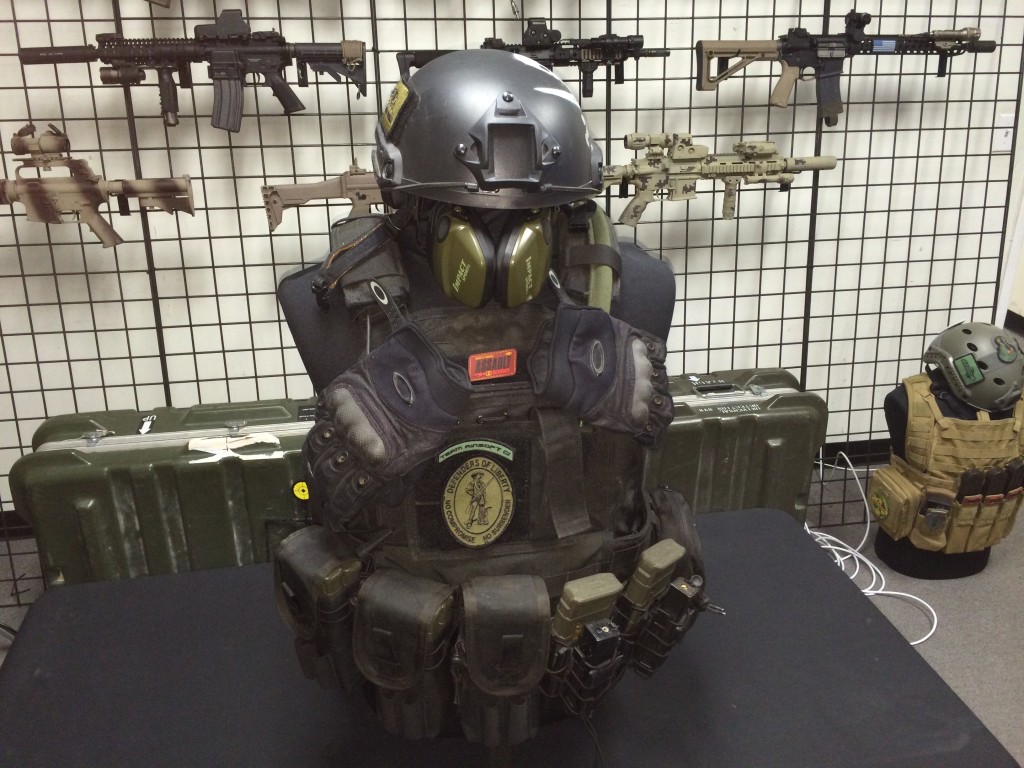
If you have ever seen my loadout, I carry a lot of stuff, and I mean A LOT. On the front of my plate carrier I have 3 Tactical Tailor pouches, each holding two magazines a piece, and next to those, I have two High Speed Gear TACO pouches with pistol TACO’s attached. These are my “I need to reload 5 seconds ago” pouches. On my chest I have a Condor admin pouch where I proudly wear my Defenders of Liberty patch and Team Airsoft GI Patch. Besides patches, that is where I put my wallet, keys, and any random little items.

(more…)


Gear Tip: Condor EMT Glove Pouch for Red / Dead Rags

null

The Condor EMT Glove Pouch is intended to function like a box of Kleenex but better and for disposable Nitrile gloves. Essentially you would reach in between the elastic flaps that retain the gloves and the gloves unfurl as they come out. We apply that same principle to your red rag. If you are like me then you have experienced those times when you get hit but you continue to be lit up and you realize the hail of BBs will not cease until you deploy your red rag. You grope around frantically for your red rag in your innumerable pockets and pouches; eventually you find it wherever you crammed it the last time you were at regen, only to repeat the process the next time around. The Condor EMT Glove Pouch not only gives you a dedicated spot to carry your red rag, it gives you a quick and easy means to deploy it. It can be mounted to your vest or belt via the included MOLLE straps.

(more…)


Airsoft GI DIY – Installing the Madbull PWS SCAR Rail Extension

We received a lot of requests from customers on how to do some minor modifications / Upgrades to their airsoft guns. In the Airsoft GI DIY series of articles, I have Marq install minor modifications to standard airsoft guns that most airsofters can handle. These are very basic operations, and do not need to open up the gear box. Although these modifications are considered to be simple, if you do not feel comfortable, always seek technical help from our Tech Department.


(more…)